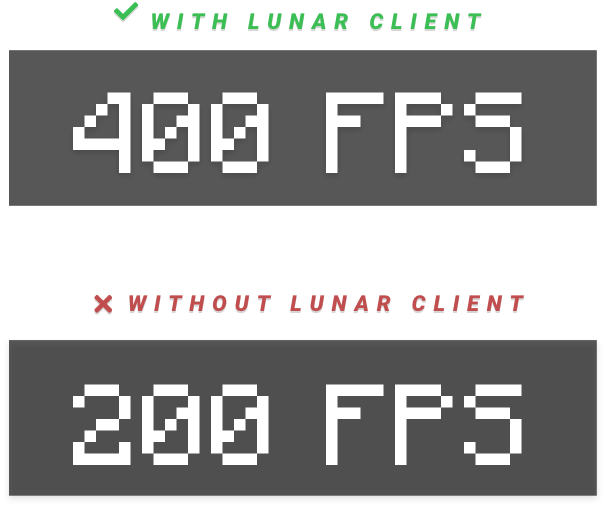
Minecraft is known to be a game built around creativity, and endless possibilities. Its graphics? Not so much… Many Minecraft players don’t care too much about the graphical style and are fine with the way the game is. Some may say it adds to the feel of the game, either that or most players just don’t have the hardware to handle a graphics upgrade. But what if you could have even more immersive graphics in Minecraft without sacrificing a ton of performance? That’s where Lunar Client comes in! One of the reasons why Lunar Client is so well-known across the Minecraft community is because of the substantial FPS boost it provides across all versions of the game.
If you were lacking in performance due to hardware restrictions, now you won’t be! This also means you’ll probably have some wiggle room to download shader packs without too much FPS drop.
What are Shader Packs?
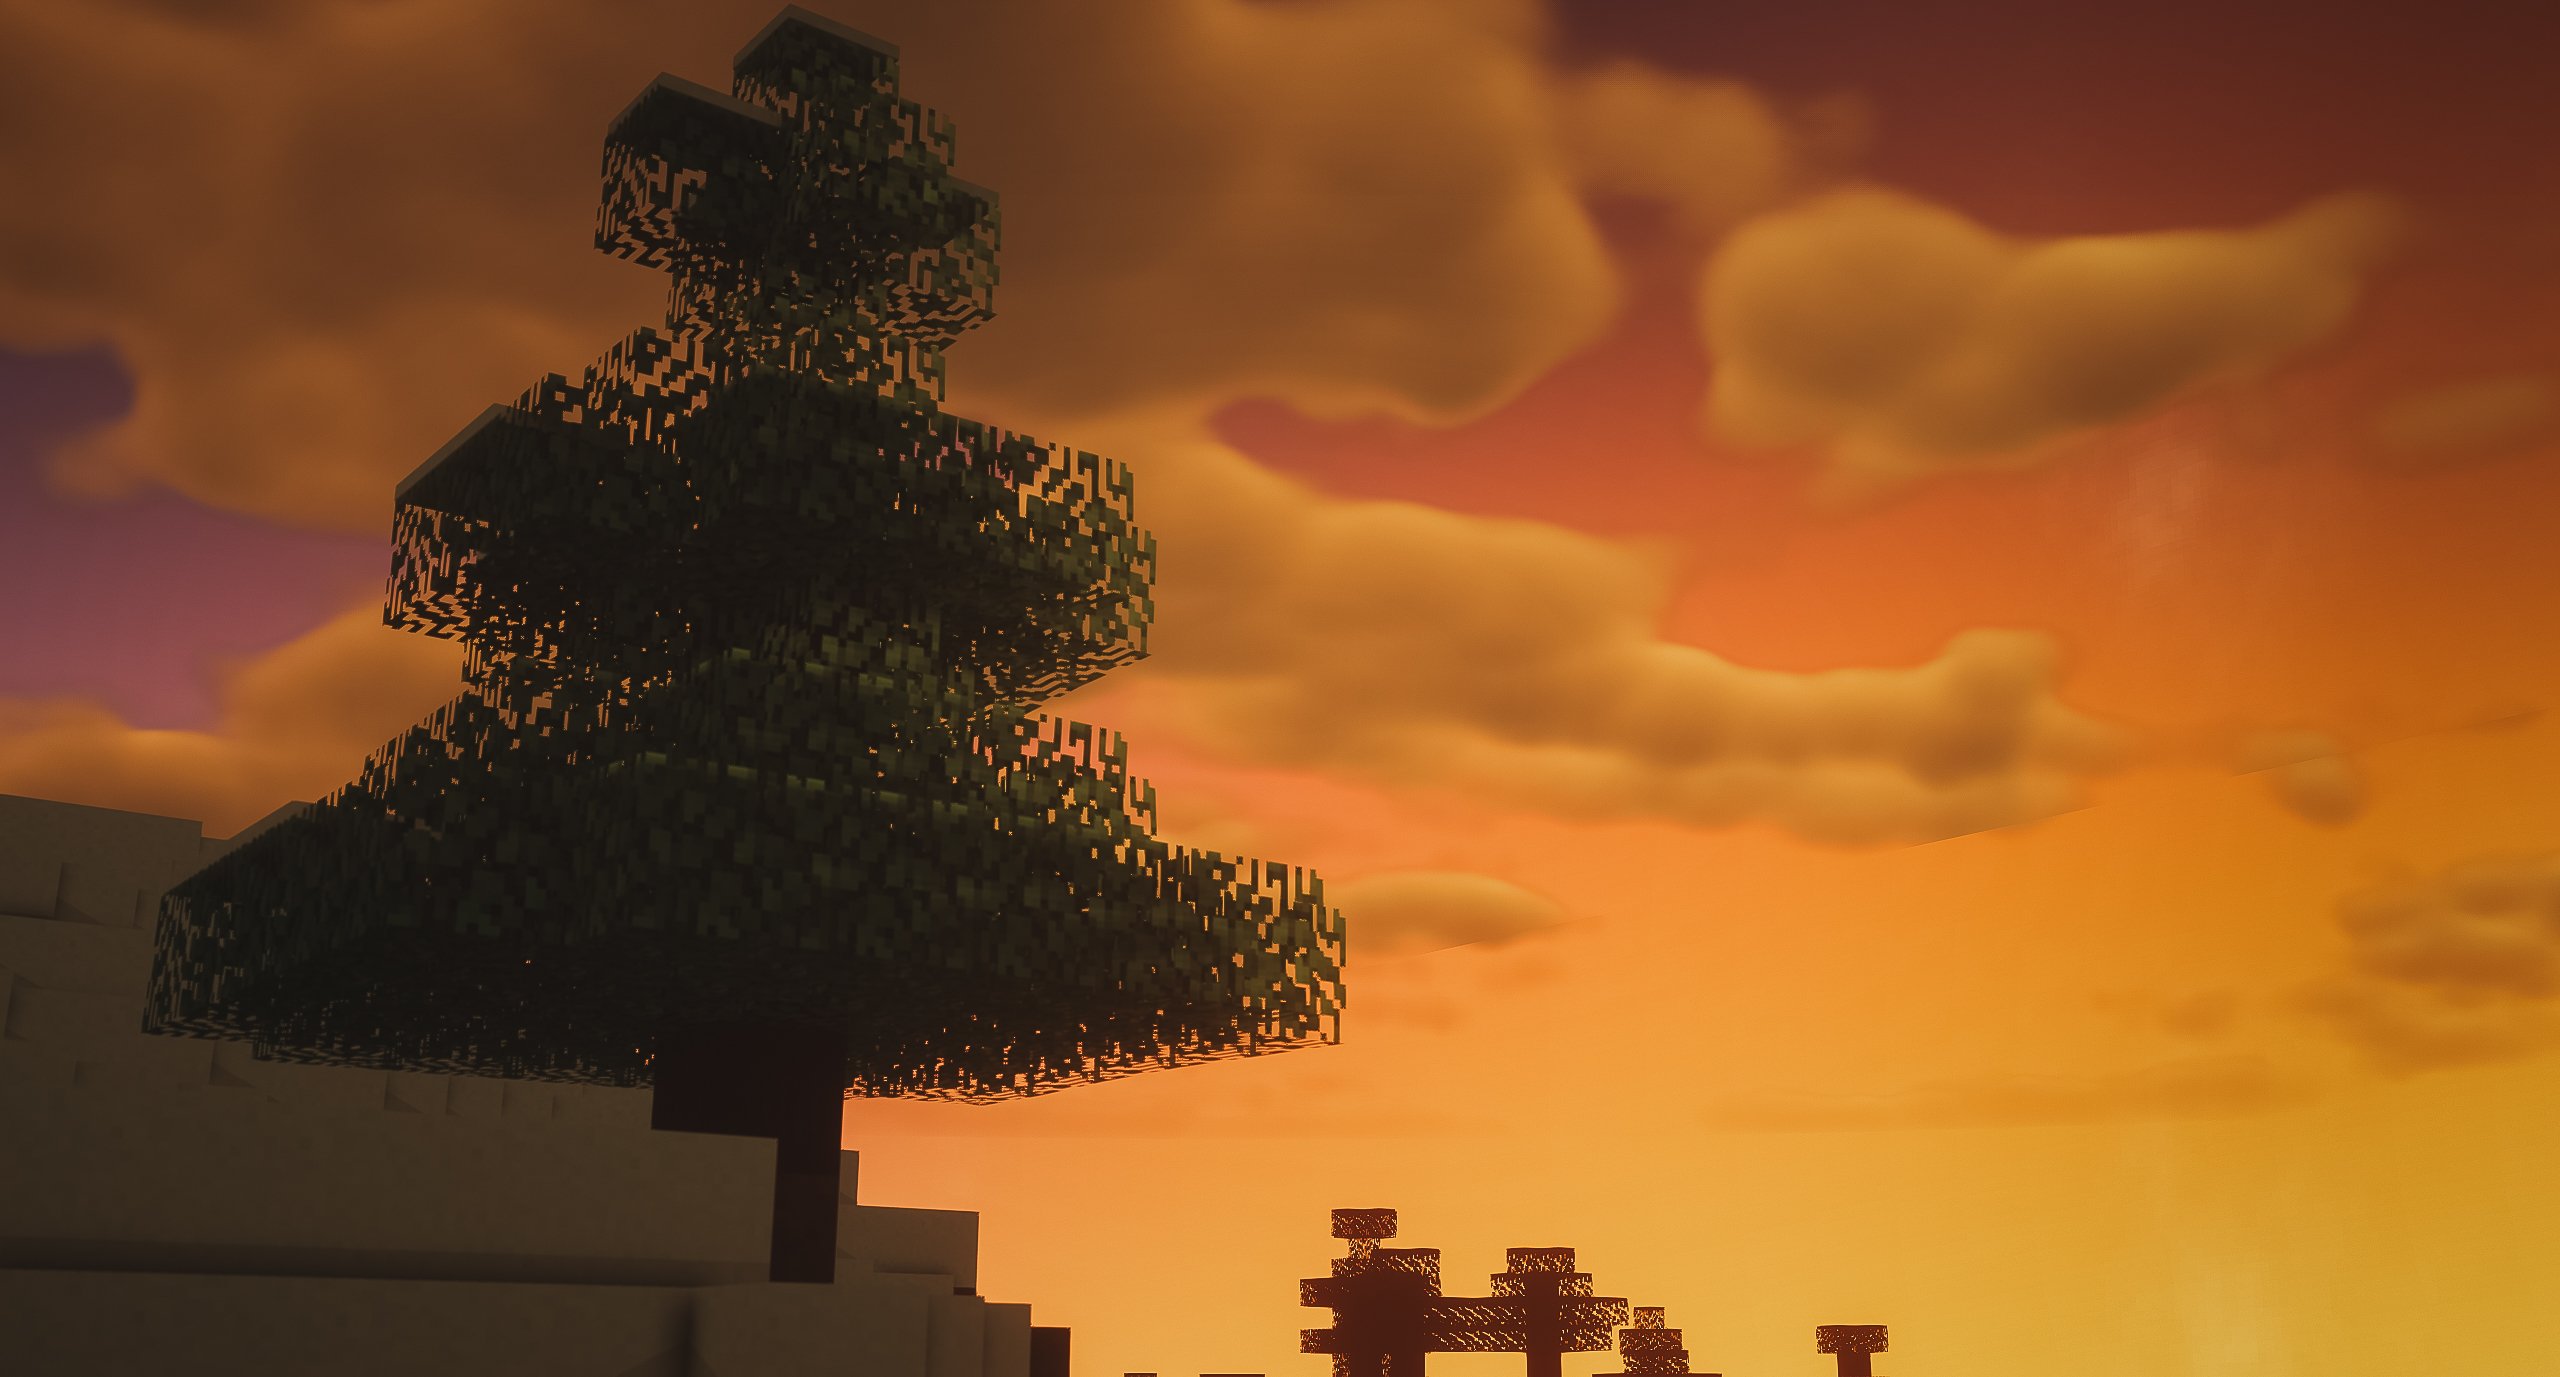
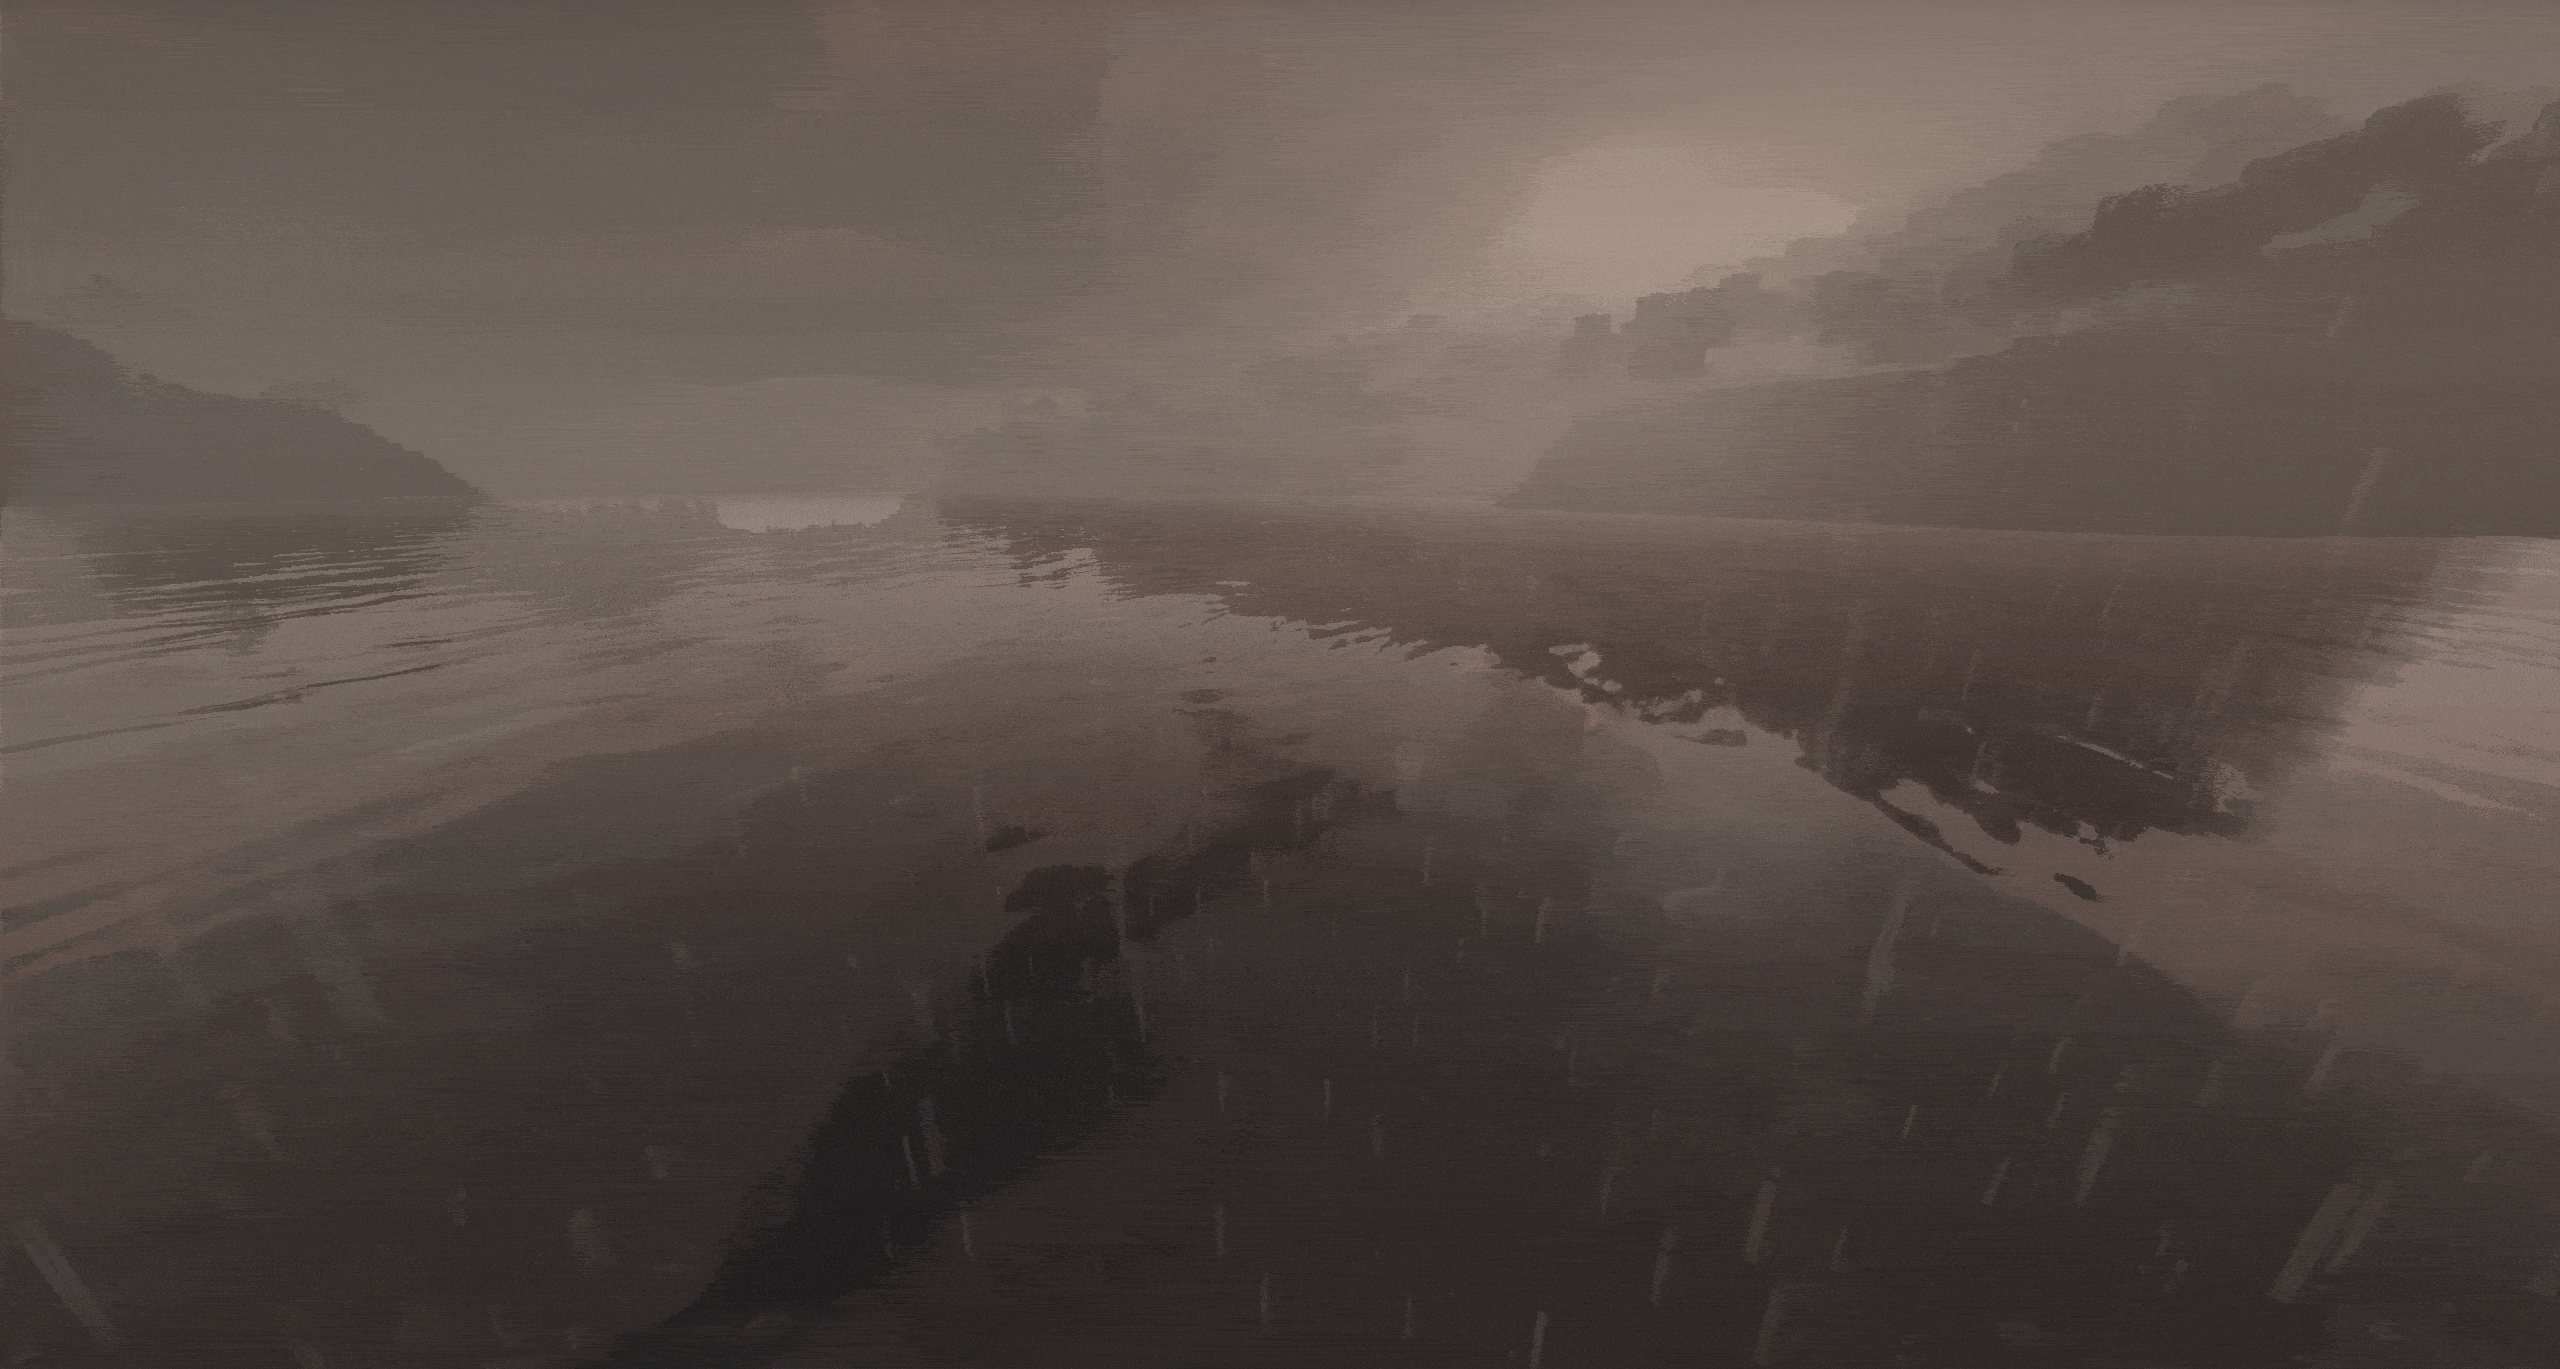
Shader packs are a way to completely change the way Minecraft looks! Unlike resource packs, shaders add features like advanced lighting, shadows, swaying grass, and water physics. Take a look at how different Minecraft can look with a standard shader pack enabled. Both images are taken at the same in-game time and location. Hard to believe, right?

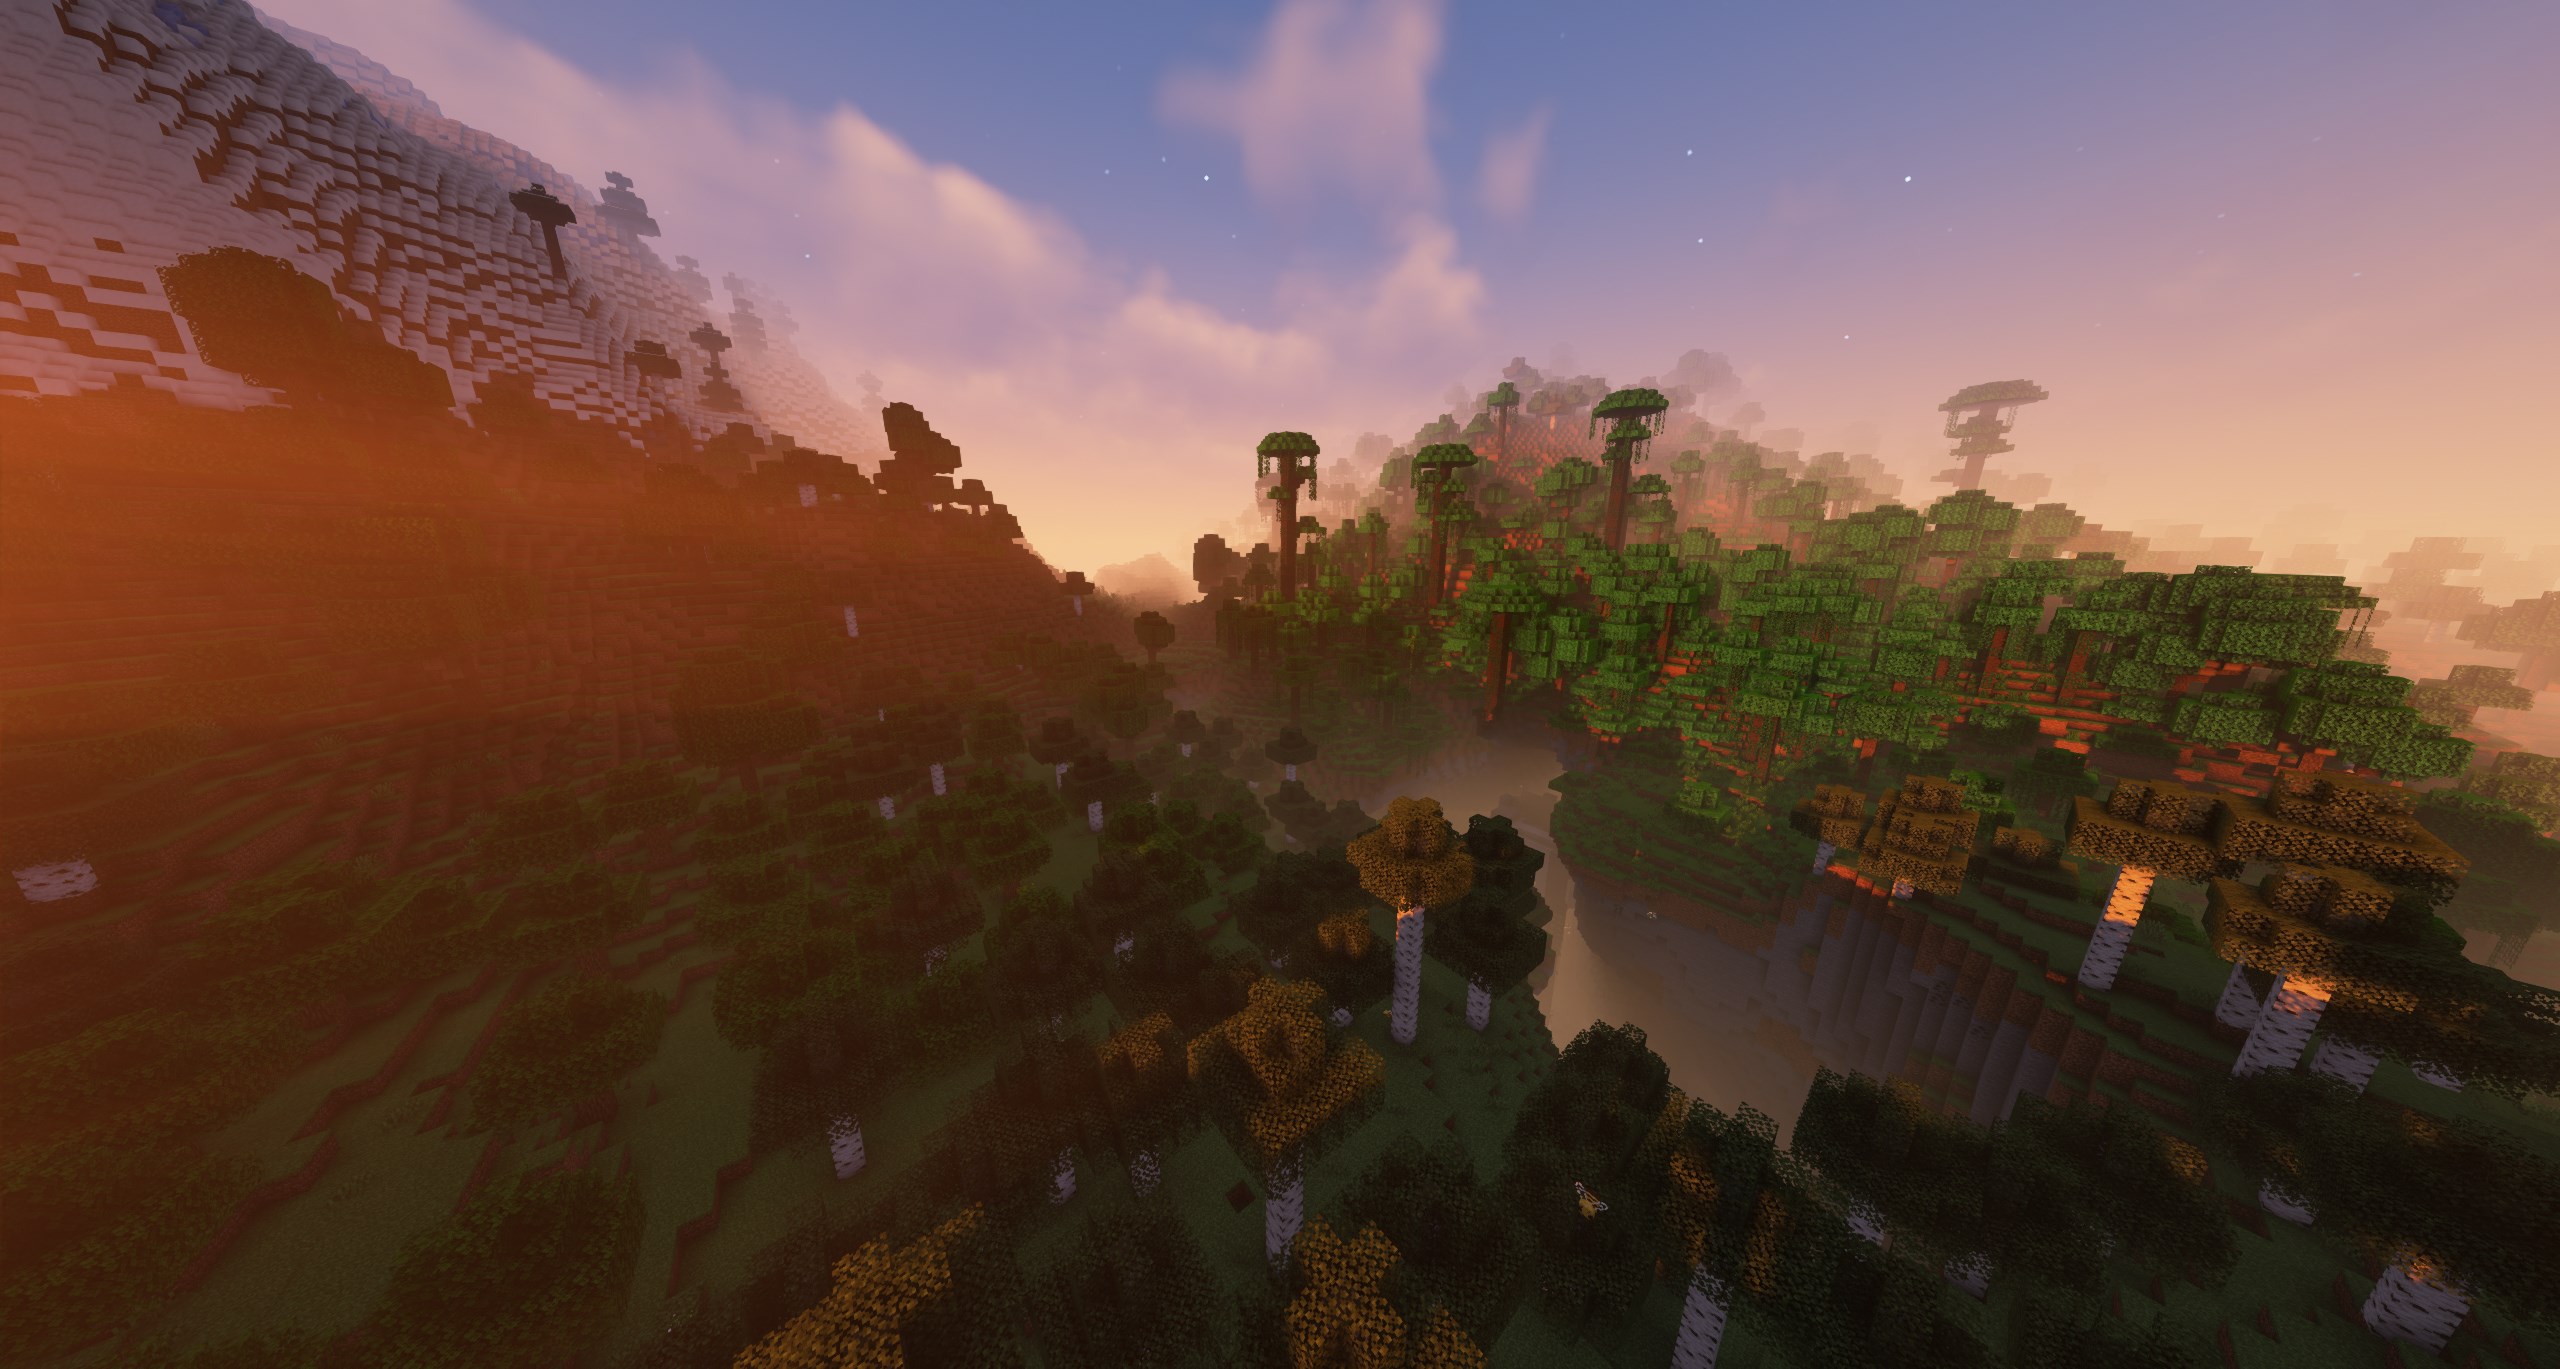
Here are some more environmental effects that shaders can add to your world or server!
Now that you’re aware of what shaders are, let’s get to installing them.
How do I Install Shaders?
A technical note before starting: This guide assumes you already have Lunar Client installed! These examples are done on a Windows PC but the process should be similar for systems like macOS, etc. While shaders can run on Forge, Sodium, and Fabric, this guide is done on Lunar Client's Sodium 1.19.2 version.
By default, Lunar Client is installed with both Optifine and Sodium which allow you to use shader packs. However, based on the module of Lunar Client you’re using, the menus in the steps below may look slightly different.
Step 1 - Finding a desired shader pack

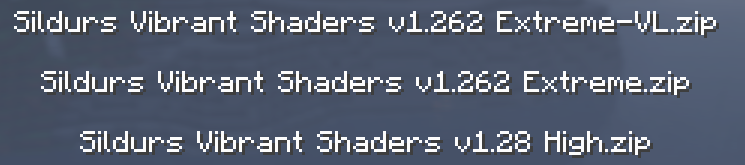
First, you’ll need to find and download a shaderpack online. There are many places you can find that allow you to download shaders. You can simply start by typing “Minecraft shaders download” or something similar into Google! However, an example of a great site is Minecraft Shaders. They offer many different shader packs across almost all versions of Minecraft. Additionally, there are many preview photos attached so you know what you’re getting into before you download them. Once you’ve downloaded a shader pack of your choice, it should appear as a folder or zip file on your computer.
Step 2 - Moving shader pack into your shaders folder
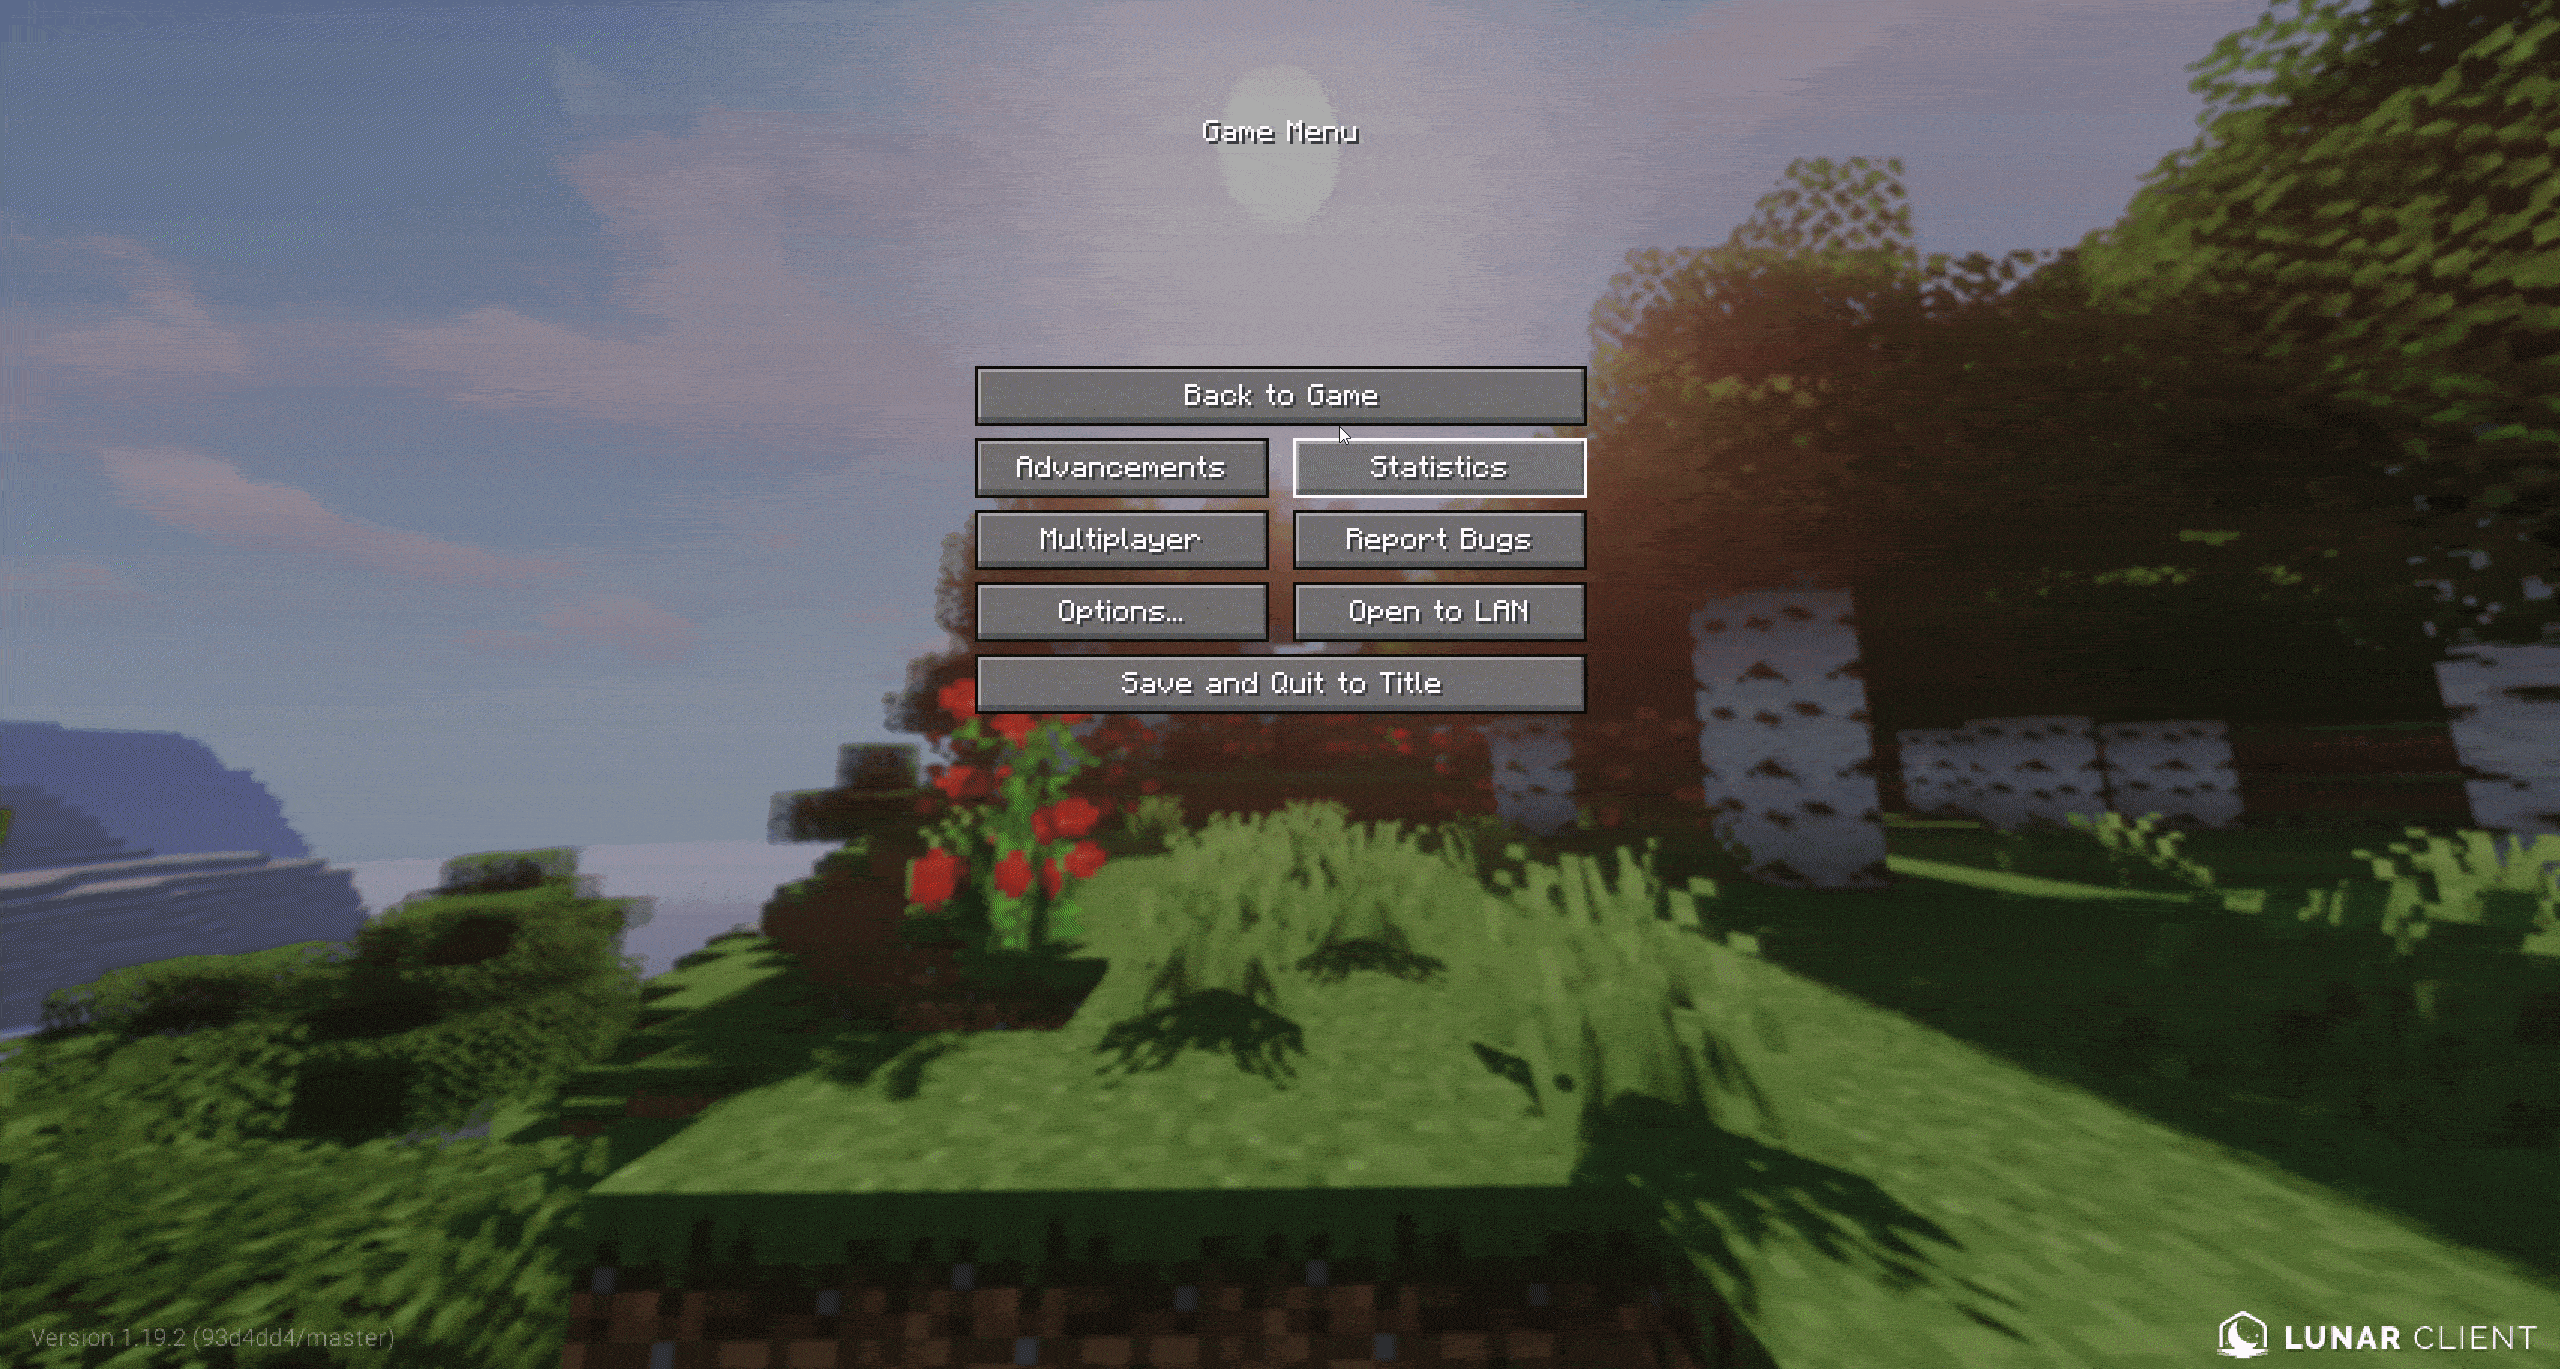
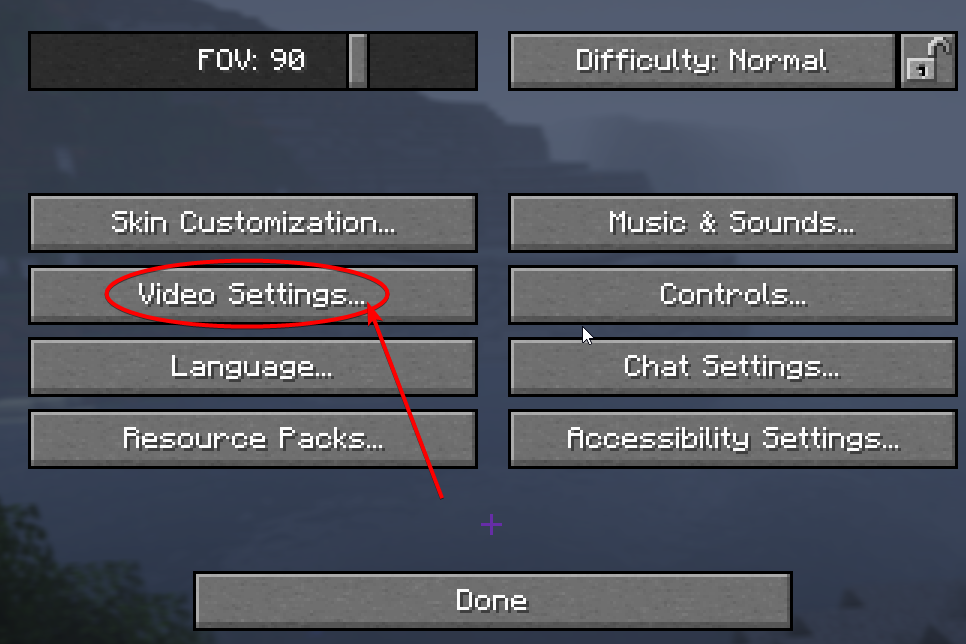
Open your Minecraft settings by pounding the ESC key, then go into “Options” —> “Video Settings”.

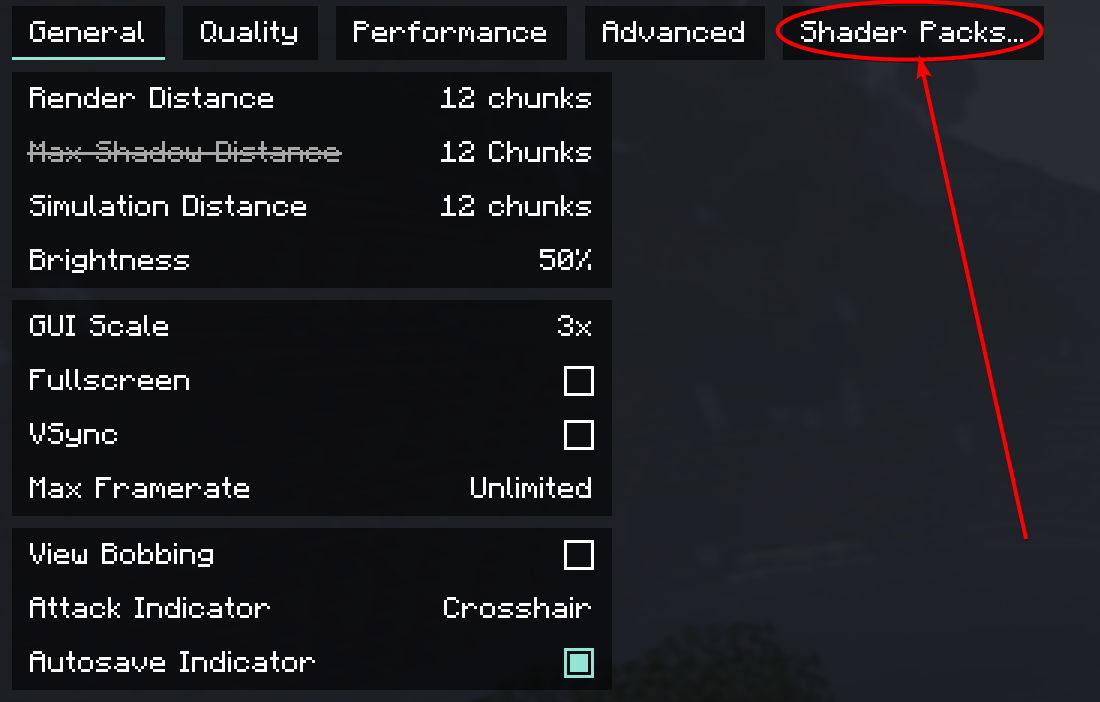
From there, you should see a tab or button titled “Shader Packs” or “Shaders”.
Click on that, then you should see another button titled “Open Shader Packs Folder” or something similar.
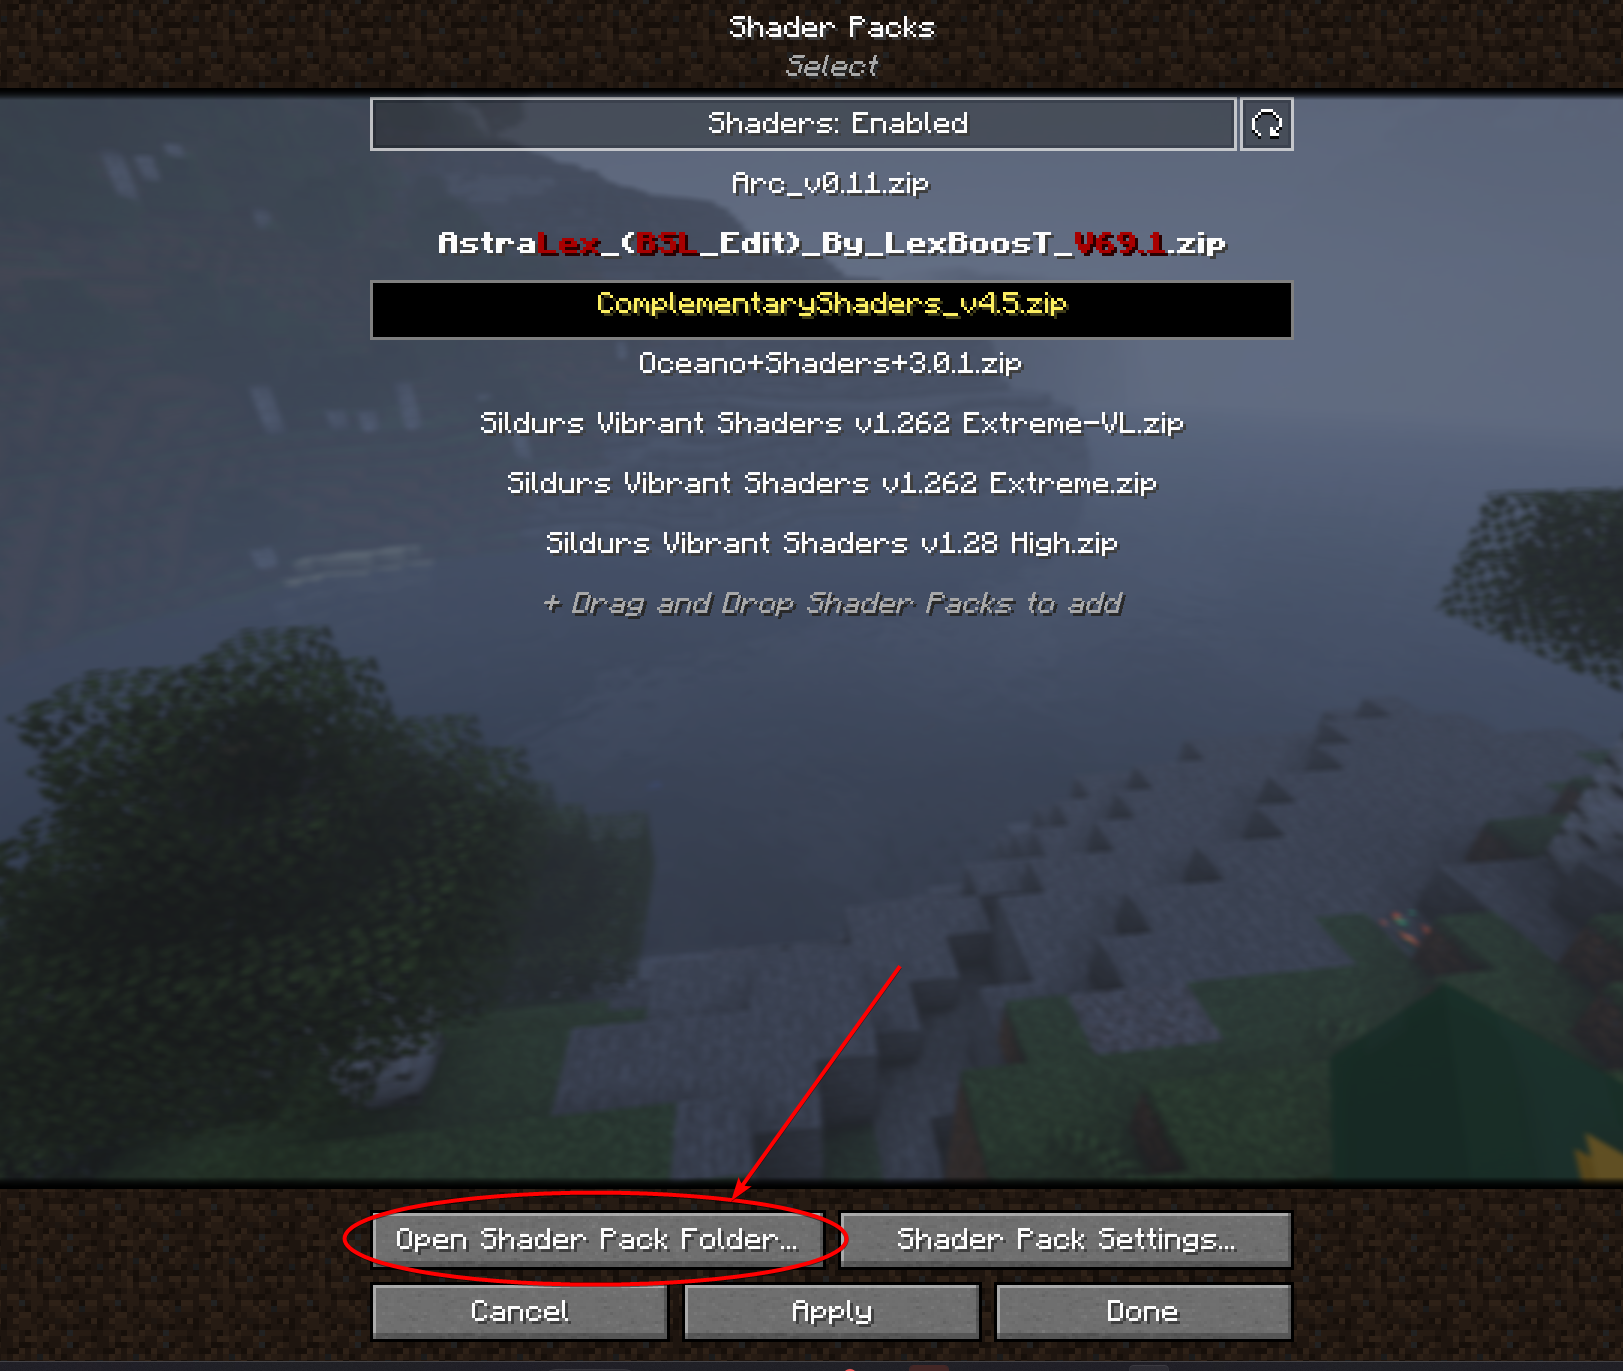
Clicking on it should open a File Explorer tab.
Next, drag the recently downloaded shaders folder or zip file into your Minecraft shader packs folder.
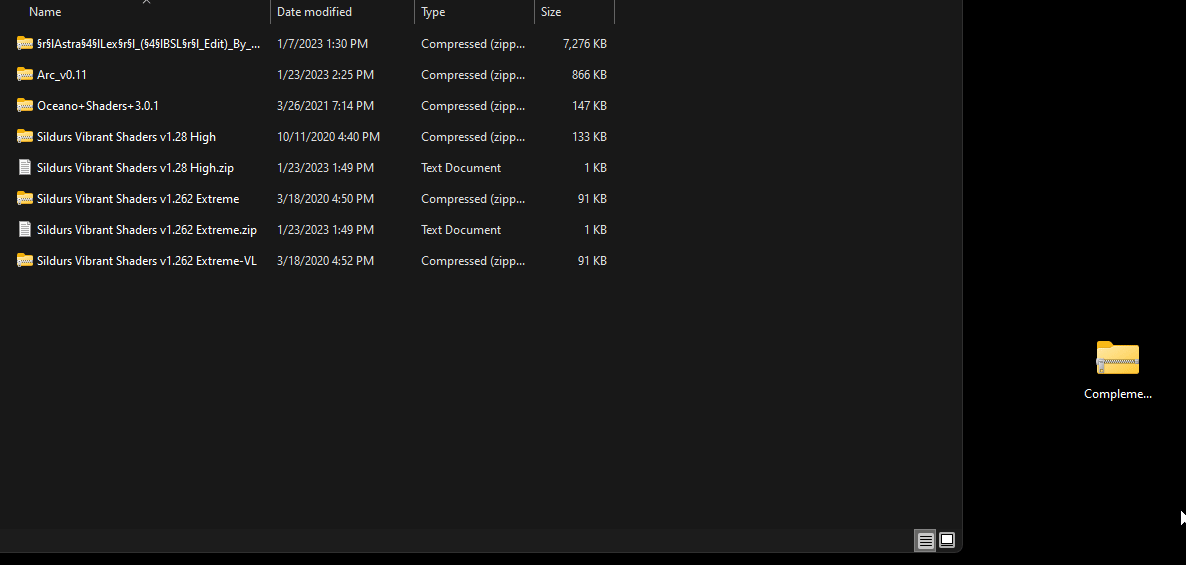
You might have to exit the menu and re-enter it to see the shader pack appear on the pack list.
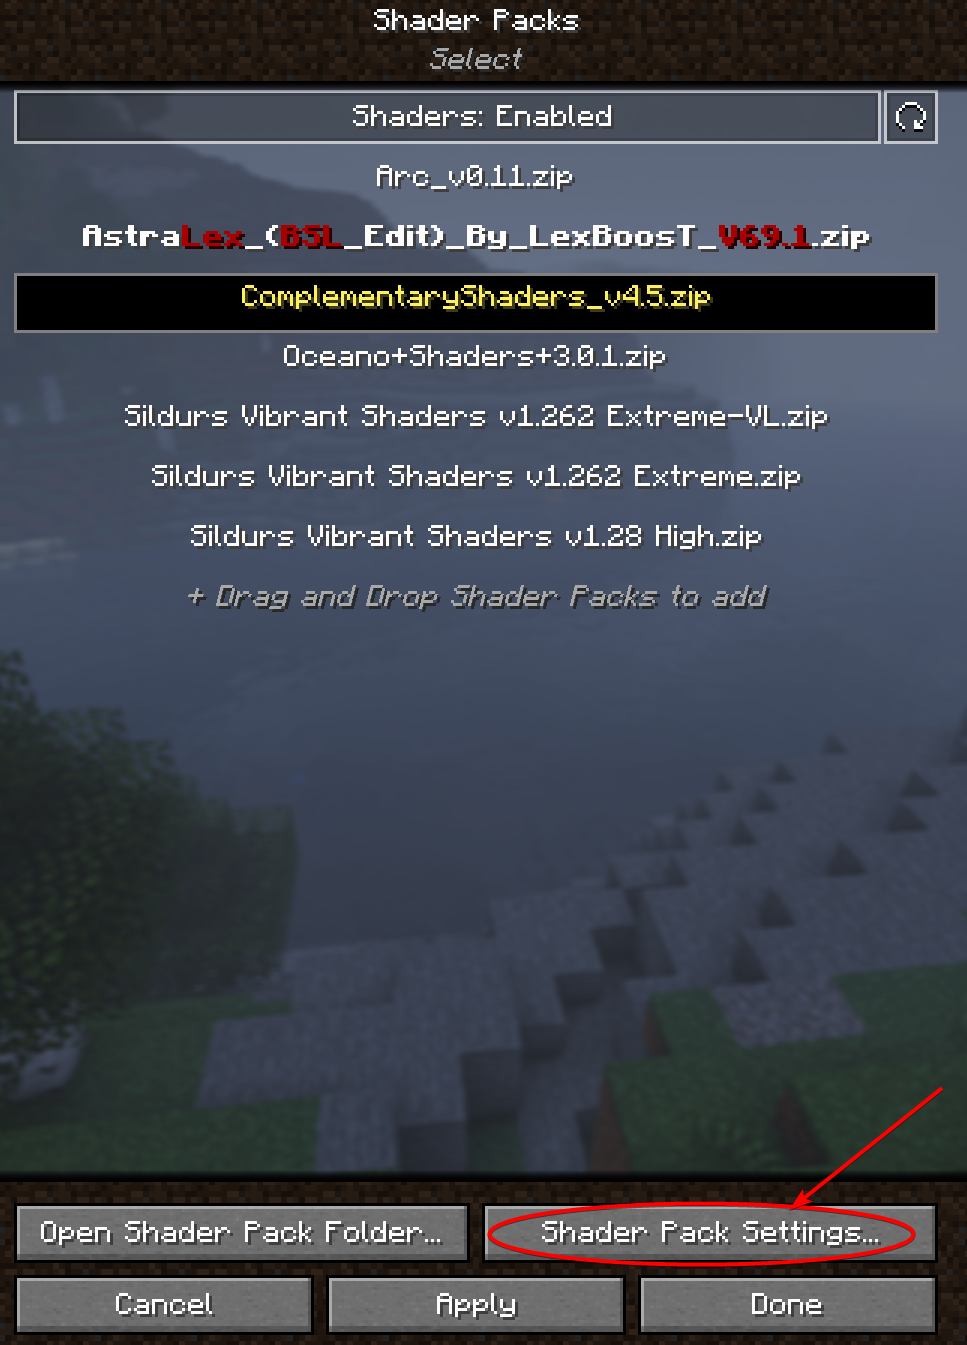
Step 3 - Applying the shader pack in-game
Now all you have to do is select the pack you just downloaded and hit the “Apply” button!

Within a couple of seconds, Lunar Client should load the shader pack up. You should immediately see the changes reflected. Enjoy!
Step 4 [Optional] - Shader pack optimization
If you’re noticing that your game is still running into some lower FPS spikes, you can try changing the shader pack settings found in the same place.
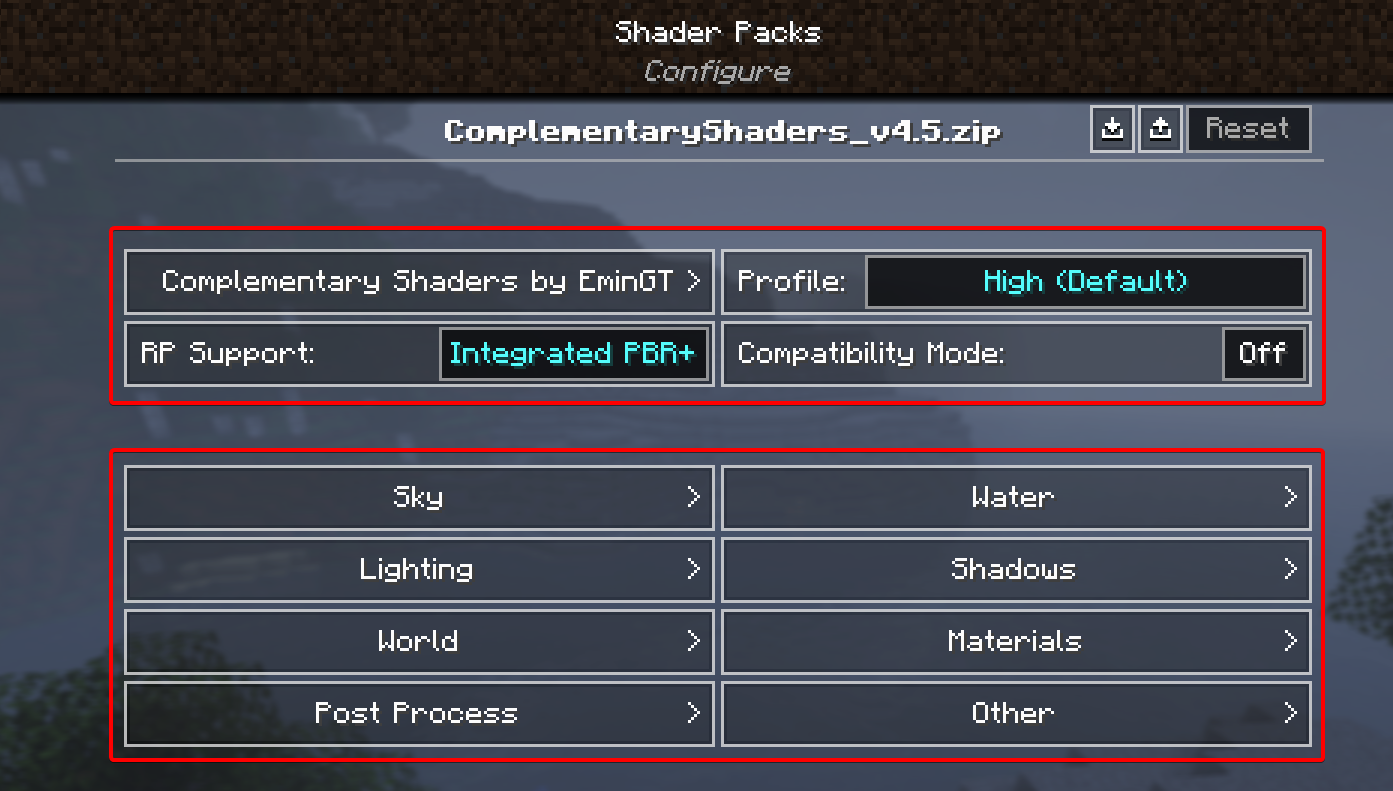
Otherwise, some shaders offer different variations of their packs for different hardware systems. They might be offered as: Name of Shader - Low, Name of Shader - Medium, Name of Shader - High, etc.
Need More Information?
If you have any questions or concerns reach out to our staff team on the Lunar Client Discord or send a ticket to our support team.